
BE INSPIRED
Helping women live more intentionally with a spiritual focus
Value your time • Find purpose • Prioritize relationships
take the challenge…
A full month of simple ways to live more intentionally


Available NOW!
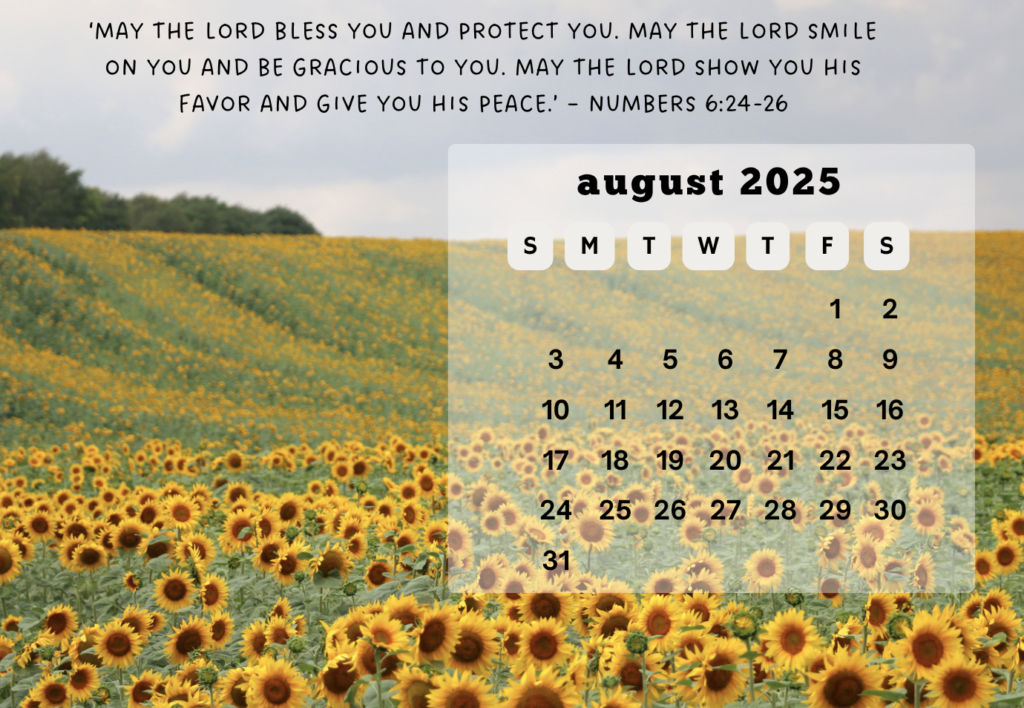
Scripture Calendar
This nature-themed desktop calendar – perfectly sized at 6.5 × 4.5 inches – features a key verse each month to bring the encouragement of God’s Word into your home or office. Its compact design is ideal for any desk or countertop, serving as a daily reminder of faith and inspiration. A thoughtful, year-long gift for any believer!


More from the Blog
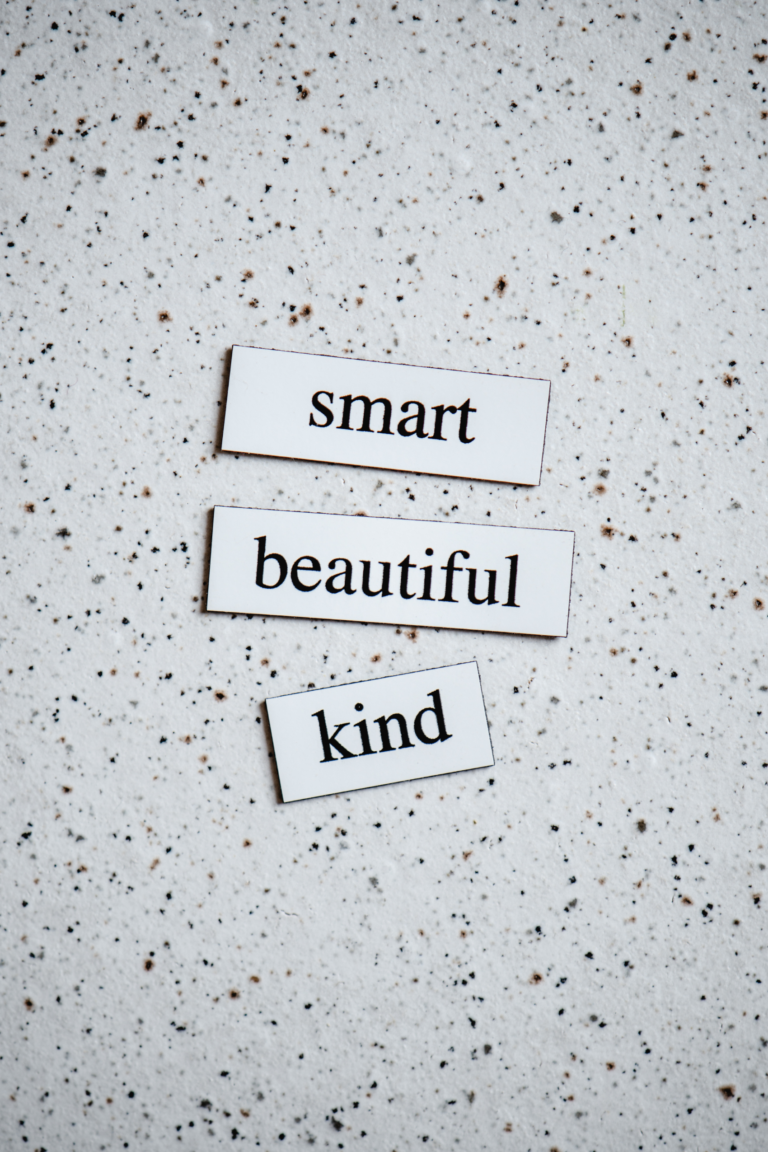
Can Giving a Compliment a Day Change the World?
Can a compliment a day change the world?

3 Ways to Live with More Gratitude
The story of the 10 lepers, in Luke 17 reveals several ways to practice greater gratitude.

WELCOME! I’M Leona!
I’m so happy you’re here!
This site is about living life in an intentional way with a spiritual focus. Time is the most precious gift God has given us, and I want to be intentional in using it in the best way possible to explore God’s purpose for our lives.
I invite you to take the 31-Day Living Intentionally Challenge. It’s a lot of fun and gives you a taste of living life more intentionally by practicing simple daily activities. Please join us in the Scott Ink Intentional Living with a Spiritual Focus Facebook Community for prayer support, idea sharing, encouragement and faith building.
Please look around; I hope you’ll draw inspiration from the content to help you live more intentionally.